Online learning tends to fail when the traditional lecture format is re-packaged over Zoom. To keep students engaged in the digital environment, learning has to be much more participatory and collaborative.
The best way to facilitate collaborative learning is by using Zoom’s Breakout Rooms. In the breakout rooms, your students can interact with one another in a small discussion group or collaborate on group work projects together.
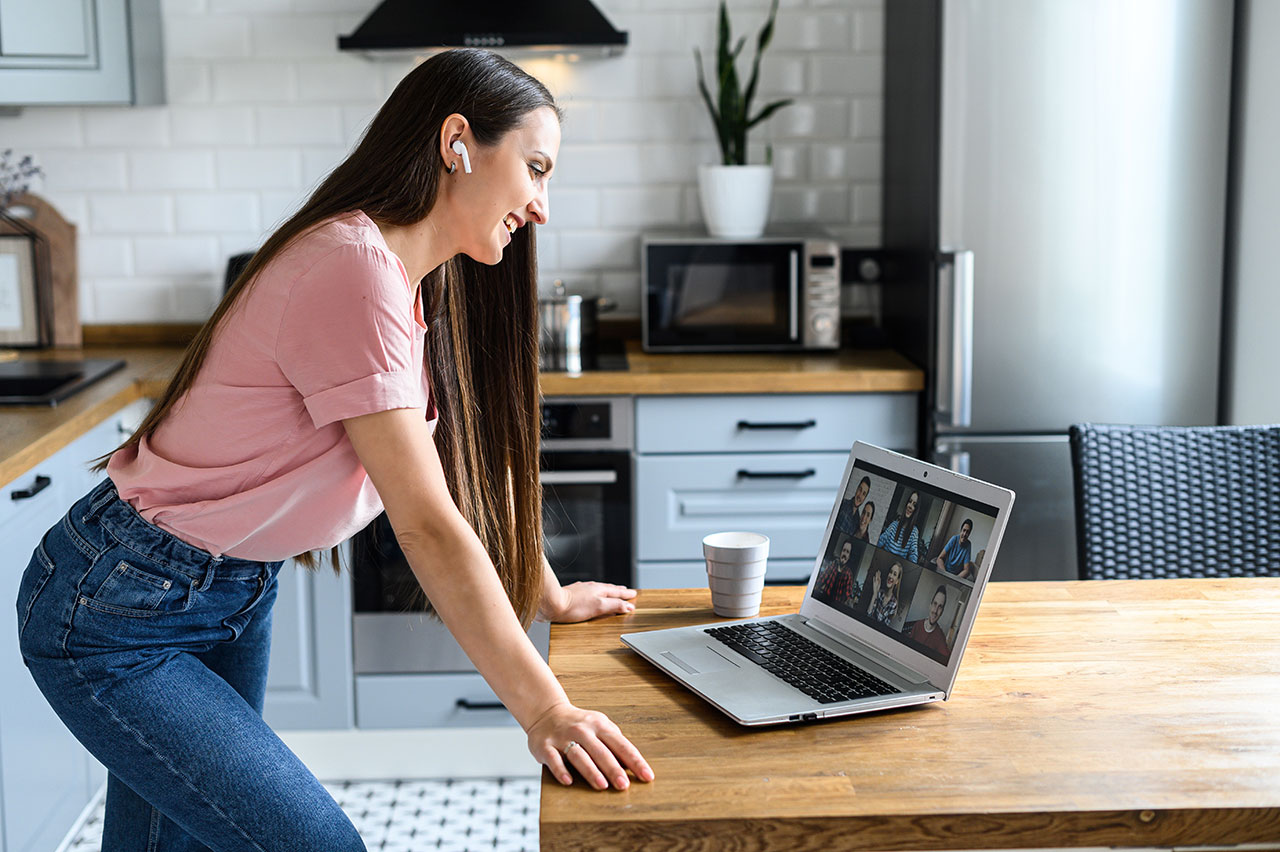
What I like best about the breakout room feature is it allows online teachers and coaches to facilitate intimate, interactive activities that create meaningful connections among their students.
Zoom makes it easy for the virtual facilitator to navigate between breakout rooms to help students with their group discussions and check-in on how they are doing as they are working together just like in a real classroom.
How To Set Up Zoom’s Breakout Rooms:
First you must enable the Breakout Rooms feature in your Zoom account.
Here’s how to do it:
1. Log into your Zoom.us account on their website.
2. Go to your account by clicking “My Account” in the top-right corner.
3. Under the “Personal” heading in the left sidebar, click “Settings.”
4. Under the Meetings tab, scroll down to the “In Meeting (Advanced)” category.
5. Click the switch to enable breakout rooms.
6. I also recommend enabling pre-schedule breakout rooms by selecting the checkbox below the switch toggle (it allows you to manually assign people to specific breakout rooms before the meeting starts).
Once this advanced feature is activated in your account settings by following directions above, you will be able to create breakout rooms when you select “New Meeting or “Schedule” in your Zoom account.
When your Zoom meeting begins, in the bottom right of the toolbar you’ll now see a “Breakout Rooms” icon that wasn’t there previously.
Click on the “Breakout Rooms” icon and you get options to either allow Zoom to automatically sort your participants into the number of rooms you select, or you can sort out each room manually.
How To Configure And Manage Your Breakout Rooms:
When you have the breakout room feature enabled, you can then start playing around with them for group work, collaboration and learning.
If you want pre-assign students to set breakout rooms you can learn how to use that feature here. In most cases, I set up the breakout rooms once I’ve started the meeting from the Zoom host interface.
Here’s how you can navigate the Zoom Breakout Rooms in the host interface:
1. Click on the “Breakout Rooms” icon on the Zoom host toolbar to see who’s in each room, or hover over to move, rename, delete, or reassign people from various rooms.
2. Select the “Options” button to enable your various breakout room settings.
3. In the options, you can set breakout rooms to close after a set amount of time, decide how much control you want participants to have over their time in these sessions, and set a countdown timer to let participants know how long they have left in a particular breakout session once time expires.
4. You can also have the option to send out mass broadcast messages to all the students in breakout rooms when they are active.
5. To launch the breakout rooms on a live Zoom call, select “Open All Rooms” to officially start your breakout sessions.
6. You can also select “Recreate Rooms”, which will shuffle the participants in any order you choose for future breakouts.
7. Drop in on the Breakout rooms to listen, provide suggestions and answer questions.
Collaborative Learning Ideas For Breakout Rooms:
Here are some creative ideas to start experimenting with Zoom’s Breakout Rooms for improving engagement, learning and collaboration:
1. Show & Tell:
Put 2-4 people into each breakout room and have each person find something on their desk or in the room to share with the group. It could be anything, a book, a piece of clothing or a pet.
2. Brainstorm Ideas:
Give students a specific question to answer or a problem to solve. They could collaborate together on a Google Doc or just have a face-to-face brainstorming session and interactive discussion over Zoom.
3. Reflection & Takeaways
Another good use of breakout rooms is to have participants reflect about the presentation or discussion and identify the first action steps they can take to put the ideas into practice.
4. Group Discussion
During your live presentation, it’s good to break up passive learning with active discussion in the breakout rooms. Get your students to share ideas related to the presentation.
5. Scenario Roleplaying
Have students engage in roleplaying such as practicing interviewing each other or stimulating a scenario in business, government, or a real-world situation related to the topic of discussion.
6. Creative Problem Solving
Give your students a specific problem to solve and ask them to work together to find the most creative solution within a certain time limit. Have them use the whiteboard feature to distill key points and collectively work out their solution to the problem.
7. Peer Feedback
Pair up students to give each other peer feedback on their projects to find ways they can improve their work and also to get better at providing constructive feedback.
It’s also a good idea after the breakout session is complete and everyone returns to the main Zoom meeting to have a person from each group to share what they discovered for the whole group.
If you’re experimenting with a new Breakout Room idea for the first time, it’s a good idea to end with a debriefing reviewing what worked, what didn’t, why it did or didn’t work, and how would you make it better for future collaboration sessions.
I hope this gives you some creative ideas for your own Zoom breakout rooms.